MENUMENU
MENUMENU
NEW RELEASE! RaimaDB 16.0, faster, easier to use, Autosar support, improved Control Center and much more. Learn more here!
Make sure you have the necessary permissions:
(Alternatively use sudo)
chmod +x your-install-file.run.sh
Start installation by running the file you downloaded:
./your-install-file.run.sh
Note: if you get permission errors try:
sudo ./your-install-file.run.sh
Example

Once the installation starts follow the instructions prompted in your terminal.
Make sure you have the necessary permissions:
(Alternatively use sudo)
chmod +x your-install-file.run.sh
Start installation by running the file you downloaded:
./your-install-file.run.sh
Note: if you get permission errors try:
sudo ./your-install-file.run.sh
Example

Once the installation starts follow the instructions prompted in your terminal.
1. Create your schema
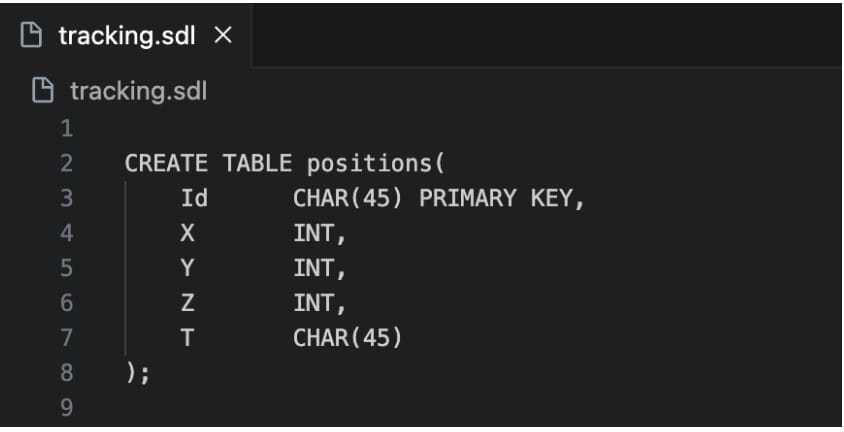
In your project folder create an .sdl file defining your table.
Note that the database will take the same name as the name of the sdl file
Example: tracking.sdl

2. Create your database
Simply run the rdm-create tool,
If you installed RaimaDB at the default location run:
/opt/Raima/rdm_enterprise_enc_simple-16.0/bin/rdm-create tracking.sdl
3. Read and Write
Open the database and write and read just as you’re used to!
					/opt/Raima/rdm_enterprise_enc_simple-16.0/bin/rdm-sql
rdm-sql: open database tracking;
rdm-sql: insert into positions values 'some-id', 1, 2, 3, ‘some-timestamp';
rdm-sql: select * from positions;
4. Congratulations
Continue learning more at https://raima.com/use-from-your-code
Or check out our many example projects: https://raima.com/our-example-projects
Make sure you have the necessary permissions:
(Alternatively use sudo)
chmod +x your-install-file.run.sh
Start installation by running the file you downloaded:
./your-install-file.run.sh
Note: if you get permission errors try:
sudo ./your-install-file.run.sh
Example

Once the installation starts follow the instructions prompted in your terminal.
3214 W. McGraw St., Suite 212
Seattle, WA 98199